WordPress is the most popular self-hosted content management system (CMS) today. In addition to its own features and hundreds of third-party plugins, WordPress can handle just about anything from digital portfolios to small business management packages.
CyberPanel offers a paid plugin to install WordPress on CyberPanel and manage settings on the dashboard. However, the CyberPanel WordPress installer is free and included in the base application.
Below, we’ll look at a few ways to deploy WordPress on CyberPanel VPS for free and other ways to manage your websites.
- Installation from CyberPanel WordPress applications
- Manual installation of WordPress in CyberPanel
- Uploading WordPress files using a file manager
- Running the WordPress installation wizard in a web browser
- Troubleshooting Common Issues
- FAQs (Frequently Asked Questions)
Installation from CyberPanel WordPress applications
This is the fastest option for installing WordPress on the CyberPanel server. This quick install method also installs the LiteSpeed Cache WordPress plugin to integrate with the CyberPanel web server configuration.
Step 1. Log in to CyberPanel.
Step 2. Select Websites > Create Website on the left side.
Step 3. Specify the feature rate, CyberPanel user to manage the website, domain (without “www“), email account.
Step 4. Select the latest PHP version unless you know that an important plugin for your needs requires an older version.
Step 5. Enable additional features if desired, such as creating an SSL certificate if it is configured on your server.
Step 6. Select Create a website at the bottom. This may take a few minutes to complete.
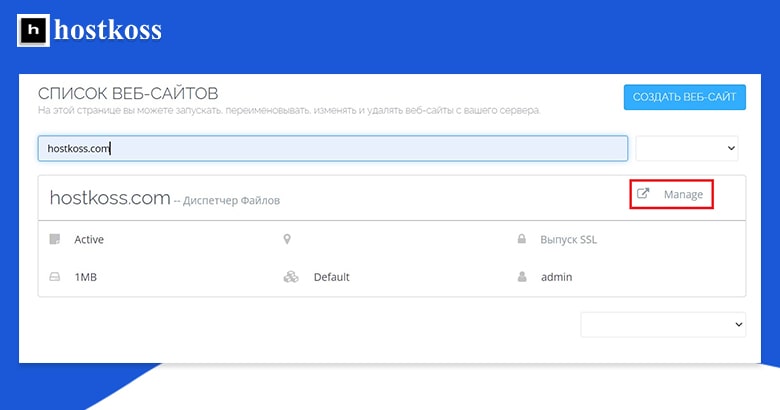
Step 7. Select Websites > List of Websites on the left side.
Step 8. Select Manage to the right of the website domain.
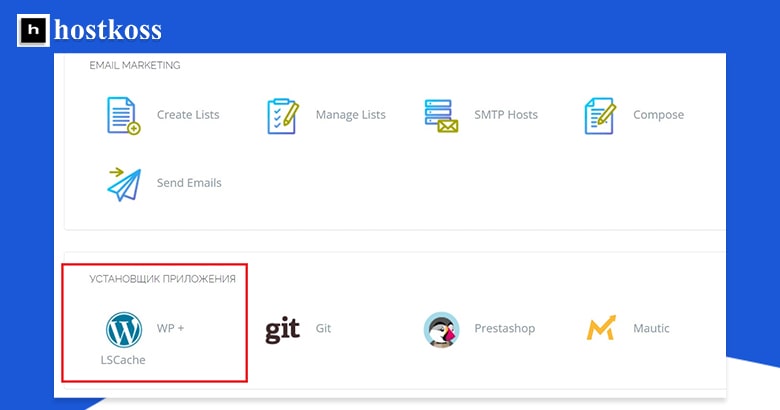
Step 9: At the bottom, select WP+LSCache
Step 10. Set the site name, administrator username, password, and email account.
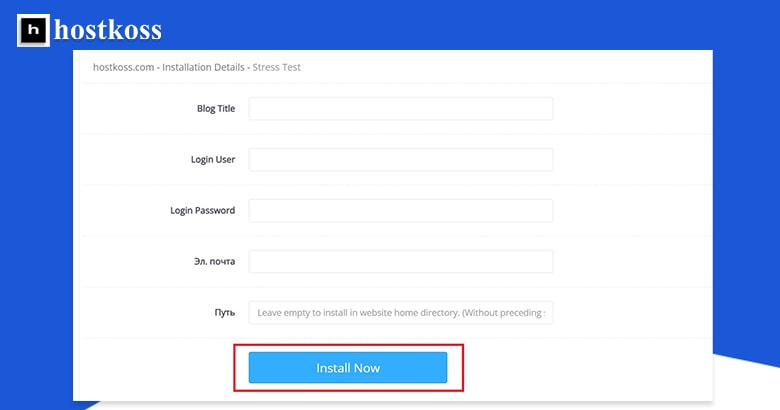
Step 11. Leave the path as is unless you want to install the site in a subdirectory in the user’s home directory.
Step 12. Select. Install Now.
Manual installation of WordPress on CyberPanel
In this section, let’s take a look at manually installing WordPress, uploading the CMS to your server, and basic installation.
Step 1: Log in to CyberPanel.
Step 2. If necessary, create a user to manage your new WordPress site.
Step 3. Select Web Sites > Create Website on the left side.
Step 4. Specify the feature pack, CyberPanel user to manage the site, domain (without “www”) and email account.
Step 5. Select the latest version of PHP, unless you know that an important plugin for your needs requires an older version.
Step 6. Enable additional features if desired, such as creating an SSL certificate if it is configured on your server.
Step 7. Select Create a website. This may take a few minutes to complete.
Step 8. From the sidebar, select Databases > Create Database.
Step 9. Select a domain, from the drop-down list.
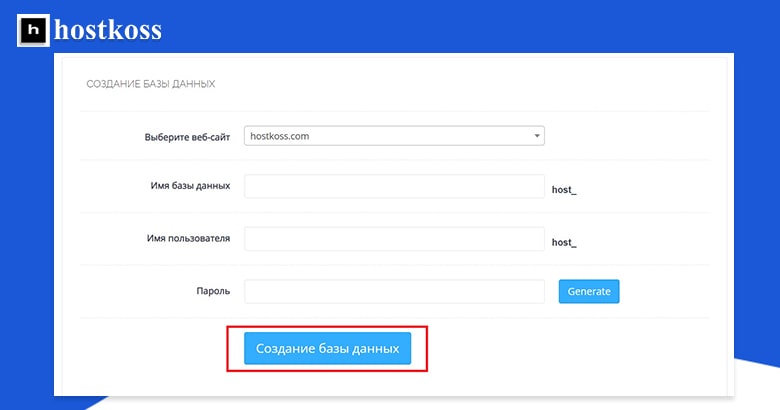
Step 10. Enter the suffix of the database name. The full database name will automatically populate to the right.
Step 11. Create a user name. The full database username. will be displayed on the right.
Step 12. Enter a strong password and save it in the password manager. You will need it later.
Step 13. Select Create Database.
Uploading WordPress files using the file manager in CyberPanel
In this section, we will upload WordPress site files to the server using file manager.
Step 1. Select Websites > Website List.
Step 2. Select File Manager on the right side of the website.

Step 3: Access the public_html folder
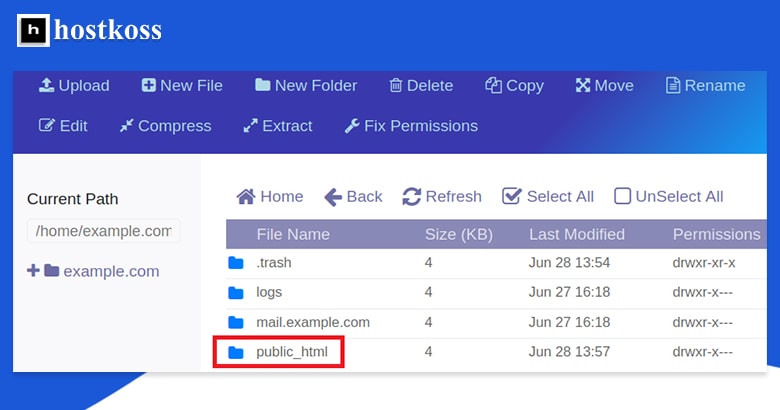
Step 4. Right click on the index.html file and delete it.
Step 5. Download the WordPress archive to your computer from https://wordpress.org/latest.tar.gz.
Step 6. Select. Download at the top.
Step 7. Locate and select the downloaded WordPress tar.gz file.
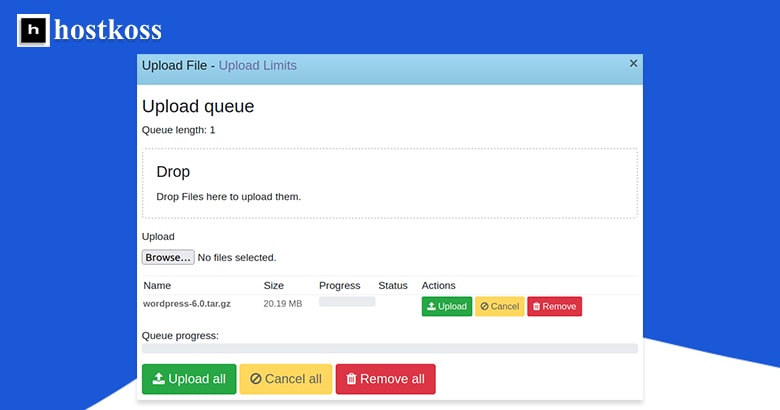
Step 8. Select Upload.
Step 9. Close the pop-up window in the upper right corner.
Step 10. Right click on the tar.gz file and select. Extract.
Step 11. The path to the extract file is irrelevant as you will need to move the files from the directory you created. Select Extract.
Step 12. Double-click the wordpress directory.
Step 13. Click “select all and move” at the top
Step 14. The path of the “Move To” file should specify “/home/YOURDOMAIN/public_html” without the slash at the end.
Step 15. Select Back at the top.
Step 16. The public_html directory should now list all WordPress files. Remove the empty wordpress directory and the tar.gz file. If the wordpress directory is not deleted, you will have to use SSH or FTP until the error is resolved by the CyberPanel developers.
Launch the WordPress installation wizard in your web browser.
You’re almost done. Now you just need to complete the WordPress installation wizard.
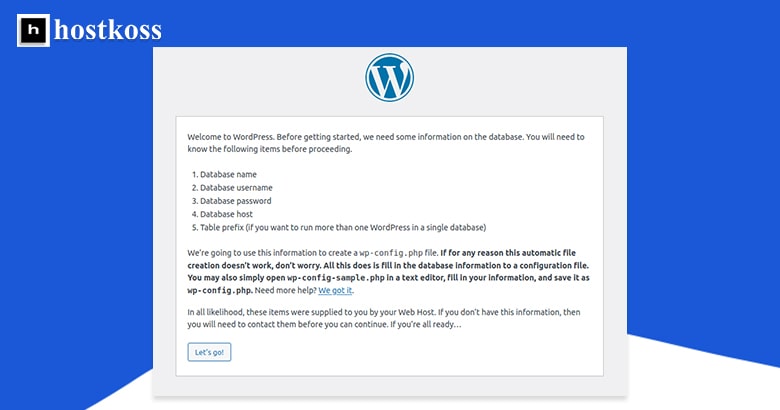
Step 1. Navigate to the WordPress domain address in your web browser.
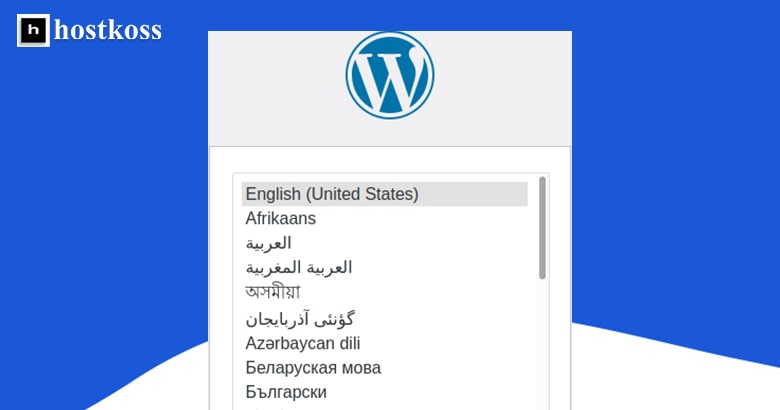
Step 2. The first page may display the WordPress logo and available languages. Choose your primary language and continue.
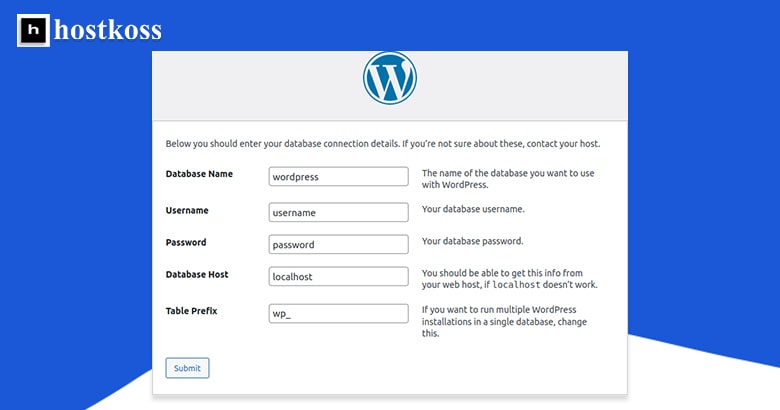
Step 3: Click next and on the next page, enter the database name, database user and database user password. These details are available under CyberPanel Databases > Database List . Select Submit.
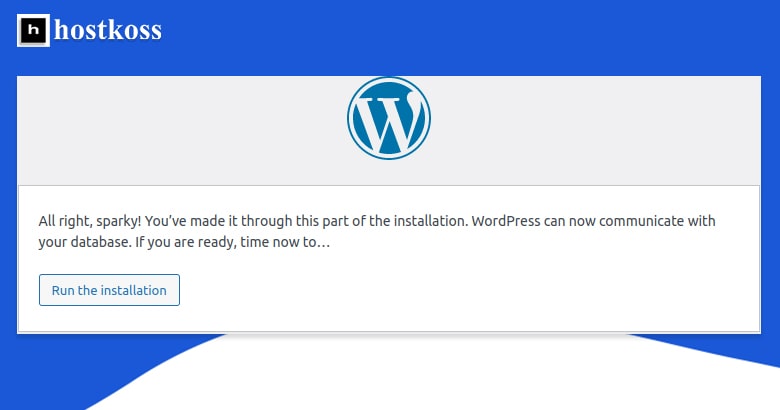
Step 4: Run the installation.
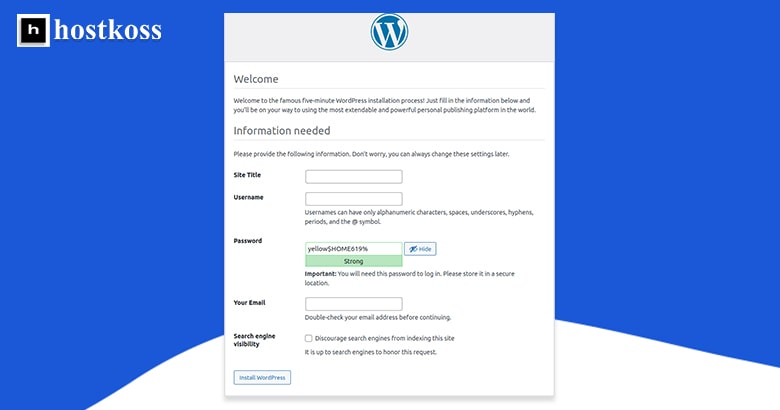
Step 5. Add a site name, administrator username, password, and email account. Do not encourage search engines to index the site if it is not intended to be public. Install WordPress.
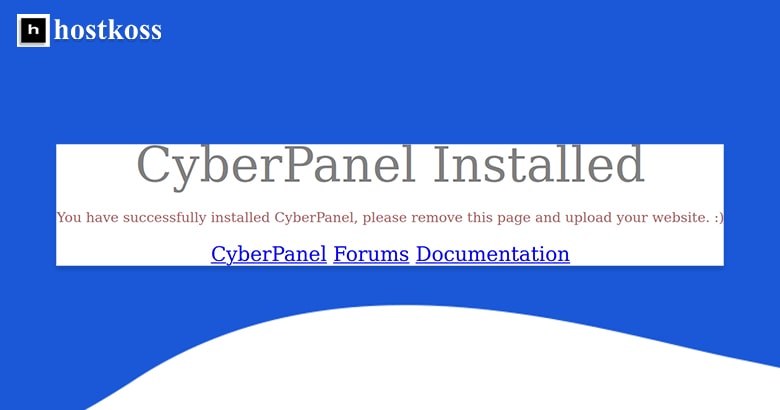
Step 6. the success page will display your administrator. Sign in.

User credentials will be emailed to you.
Read also:
- How to install PrestaShop in CyberPanel
- How to create a WordPress site in 2024
- How to change hosting provider?
Troubleshooting Common Issues
While installing WordPress in CyberPanel is generally straightforward, you may encounter some common issues along the way. Here are a few troubleshooting tips:
1. 502 Bad Gateway Error
- If you encounter a 502 Bad Gateway error during installation, try restarting your server or reaching out to your hosting provider for assistance.
2. Database Connection Errors
- Ensure that your database credentials are correct and that your database server is running smoothly. You may need to create a new database or user if issues persist.
3. Permission Denied Errors
- Check file and directory permissions to ensure that CyberPanel has the necessary permissions to install WordPress files. Adjust permissions as needed to resolve permission denied errors.
FAQs (Frequently Asked Questions)
The installation process typically takes just a few minutes to complete, depending on your server’s speed and resources.
Yes, CyberPanel allows you to install WordPress on multiple domains within the same hosting environment, making it convenient for managing multiple websites.
While CyberPanel is compatible with many hosting providers, it’s essential to check with your provider to ensure compatibility before proceeding with the installation.
No, CyberPanel’s user-friendly interface makes the installation process accessible to users of all technical levels. Simply follow our step-by-step guide for a hassle-free installation experience.
Yes, you can migrate an existing WordPress site to CyberPanel using plugins or manual methods. However, it’s recommended to backup your site before proceeding with the migration process.
Yes, CyberPanel offers robust security features, including firewall protection, malware scanning, and automatic backups, making it a secure choice for hosting WordPress sites.